A clogged kitchen sink drain is one of the most common plumbing problems in Canadian households. Grease, food scraps, and soap buildup can turn a smoothly running sink into a slow, frustrating mess. If you ignore these issues, they will only get worse — minor blockages can turn into expensive repairs or even water damage.
Knowing how to unclog a kitchen sink drain yourself can save you time and money. You don’t need fancy equipment — just simple methods applied in the right order.
This guide walks you through four escalating solutions, from the gentlest fix to mechanical tools, plus clear signs that it’s time to call a professional.
Understanding Kitchen Sink Clogs: Causes and Signs
A blocked or slow kitchen sink usually comes down to three culprits.
Grease buildup is the most common cause. Cooking oils look harmless when warm but solidify as they cool inside your pipes, sticking to the walls and gradually narrowing the passageway. This explains why a sink might drain fine right after cooking but slow down hours later.
Food debris — especially coffee grounds, fibrous vegetables, and starchy leftovers — accumulates in the drain and reduces pipe diameter over time. Coffee grounds are particularly problematic because they clump together and don’t break down easily.
Soap scum combines with minerals in water to form sticky deposits that trap grease and debris, making existing blockages worse.
Signs your drain needs attention
- Standing water that drains slowly or not at all
- Gurgling sounds during drainage
- Foul odors near the drain
- Water that drains fine right after use but slows down within the hour
Step 1: Boiling Water
The simplest fix — and the right place to start for any slow drain.
Boiling water melts solidified grease and loosens soap scum without chemicals, keeping your plumbing safe.
How to do it:
- Boil at least 4 to 6 cups (1 to 1.5 liters) of water.
- Remove any standing water from the sink basin first.
- Pour the boiling water slowly and directly into the drain opening.
- Wait 5 to 10 minutes, then run hot tap water for 30 seconds to test flow.
- Repeat up to three times if drainage is still slow.
Precautions: Avoid using boiling water on PVC pipes too frequently — extreme heat can soften plastic over time. Never combine boiling water with chemical drain cleaners.
This method works well on fresh grease and soap buildup. It won’t clear a solid blockage or debris lodged deeper in the pipe.
Step 2: Baking Soda and Vinegar
When boiling water alone doesn’t do it, add a chemical assist. Baking soda (a mild alkali) and vinegar (a mild acid) react together, producing carbon dioxide bubbles that agitate and loosen sludge from pipe walls.
How to do it:
- Make sure no standing water remains in the sink.
- Pour one cup of baking soda directly into the drain.
- Immediately follow with one cup of white vinegar.
- Cover the drain with a stopper or cloth to concentrate the reaction inside the pipe.
- Wait 15 to 30 minutes — up to an hour for tougher clogs.
- Flush thoroughly with another full kettle of boiling water.
Repeat once if needed. This method works best on greasy or sludgy buildups. For solid obstructions, move to Step 3.
Step 3: Plunger
If water and natural cleaners haven’t cleared the clog, mechanical action is next. A plunger creates suction and pressure waves that dislodge blockages further down the pipe.
Use a cup-style (flat-bottomed) plunger — not a flange plunger, which is designed for toilets.
How to do it:
- Remove any visible debris around the drain opening.
- Fill the sink basin halfway with warm water — enough to submerge the plunger cup.
- Place the plunger firmly over the drain and press down to form a seal.
- Pump up and down with steady, rhythmic strokes for 20 to 30 seconds.
- Lift the plunger sharply — a gurgling sound or rush of water means the blockage has moved.
- Run warm water to test flow. Repeat if needed.
Tip: If you have a double sink, block the second drain with a wet cloth so the pressure stays focused on the clogged side.
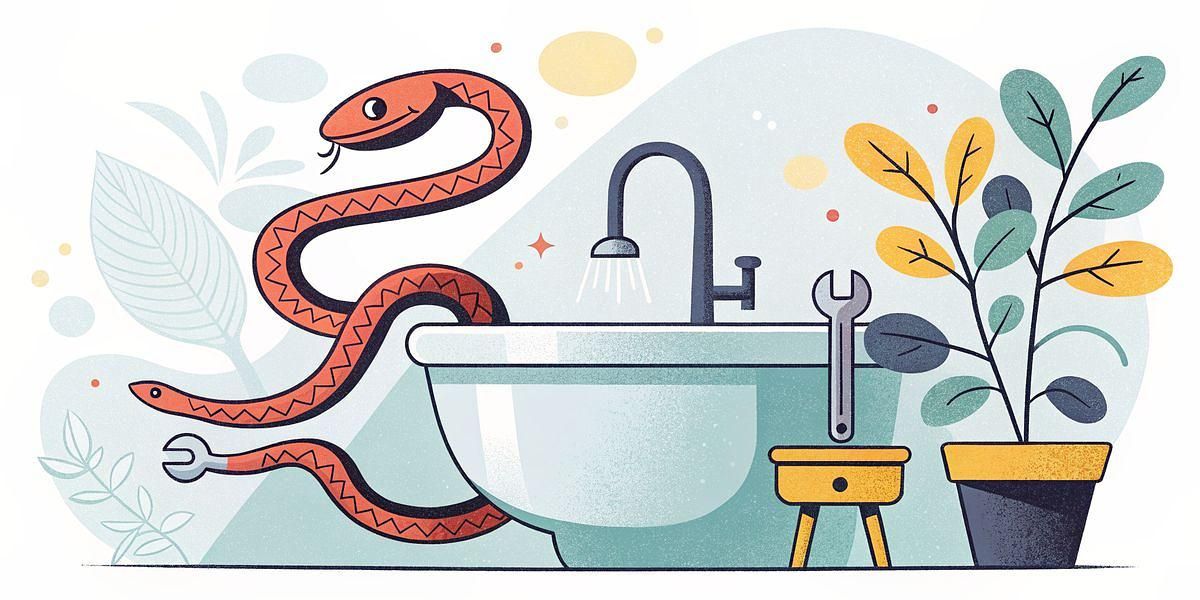
Step 4: Drain Snake
For blockages that survive plunging — typically debris or buildup lodged deeper in the pipe — a drain snake (also called a drain auger) is the most effective DIY tool.
A drain snake is a long, flexible metal cable on a hand-crank reel. The hooked tip grabs or breaks up obstructions inside the pipe.
How to do it:
- Place a bucket and towels under the P-trap (the curved pipe beneath the sink cabinet).
- Unscrew and remove the P-trap using an adjustable wrench. Inspect and clean it out if it contains debris.
- Insert the snake tip into the pipe opening in the wall.
- Feed the cable slowly while turning the crank handle clockwise.
- When you feel resistance, continue rotating to break up or hook the blockage.
- Retract the cable slowly, pulling out any debris attached to the tip.
- Reassemble the P-trap, then run hot water to test drainage.
Tips: Don’t force the snake aggressively — steady rotation works better and avoids damaging pipe joints. Wear gloves; the cable will be coated in drain residue.
When to Call a Professional Drain Specialist
DIY methods handle most household clogs. Call a professional when:
- The clog keeps coming back — recurring blockages after every clearing indicate a deeper structural problem, not a surface buildup.
- Multiple fixtures are affected — if the kitchen sink, bathroom drains, and toilet are all slow or backing up simultaneously, the problem is in the main sewer line, not an individual drain.
- Water backs up into other fixtures — sewage coming up through a basement floor drain or bathtub when you flush the toilet is a main line emergency.
- Foul odors persist after cleaning — can indicate trapped waste or a cracked pipe leaking sewer gas.
- DIY methods fail after several attempts — a professional has motorized augers and video inspection cameras to diagnose and fix what hand tools can’t reach.
Don’t attempt to force a solution on a main sewer line blockage or a suspected collapsed pipe — the risk of making it worse is real.
Conclusion
Most kitchen sink clogs respond to one of these four methods. Start with boiling water, escalate to mechanical tools if needed, and know when to call a drain specialist. Once your drain is clear, a simple monthly routine — hot water flushes and keeping grease out of the sink — is the best way to avoid going through this again.
FAQs
What are the most common causes of a kitchen sink clog?
Grease buildup, food debris (especially coffee grounds), and soap scum accumulation. Grease is the leading cause — it solidifies inside pipes over time and creates a narrowing that traps everything else.
Can boiling water damage my pipes?
It can soften PVC pipes if used excessively. One or two applications are fine for most household plumbing. If your pipes are older PVC, use very hot tap water instead.
How long should I leave baking soda and vinegar in the drain?
At least 15 to 30 minutes. For stubborn clogs, leave it for up to an hour before flushing with boiling water.
When should I use a drain snake instead of a plunger?
Use a plunger first — it’s faster and less invasive. Move to a drain snake when the plunger fails or when the blockage feels deep in the pipe rather than close to the drain opening.
What are the signs of a main sewer line blockage?
Multiple slow drains throughout the house at the same time, gurgling from the toilet when you use the sink, and sewage backing up into the bathtub or basement floor drain. This requires a professional — not DIY tools.